Understanding the Control Center in macOS Tahoe 26
Since its introduction in macOS Big Sur in 2020, the Control Center has streamlined access to essential settings like Wi-Fi, volume, and display brightness. With the latest release of macOS Tahoe 26, this feature has evolved significantly, resembling the Control Center found on iPhones and iPads. This upgrade enables greater customization, allowing you to modify the layout, add new controls, and even integrate third-party applications. Let’s explore how to personalize your Control Center effectively.
Step-by-Step Customization Process
1. Accessing the Control Center
To begin, locate the Control Center icon in the menu bar of your macOS Tahoe interface. Clicking this icon will open the Control Center, presenting you with familiar controls such as Wi-Fi, Bluetooth, sound settings, and Focus mode.
2. Initiating Customization
To manage which options appear in the Control Center, click on the Edit Controls button. This action allows you to modify the settings displayed, tailoring them to your preferences.
3. Navigating Available Controls
You will now see a comprehensive list of controls available for customization. To simplify your search, consider selecting a category from the sidebar or using the Search Controls feature to quickly find the options you want.
4. Adding Controls to Your Setup
There are two simple methods for adding controls to your Control Center. You can either click on the desired item and select Add to Control Center or drag the item directly into the Control Center, which remains visible to the right of your screen.
5. Placing Items in the Menu Bar
If you prefer quick access to certain controls without having to navigate through the Control Center each time, you can place items directly in the menu bar. To do this, click on the item and choose Add to Menu Bar, or alternatively, drag the item to the menu bar area.
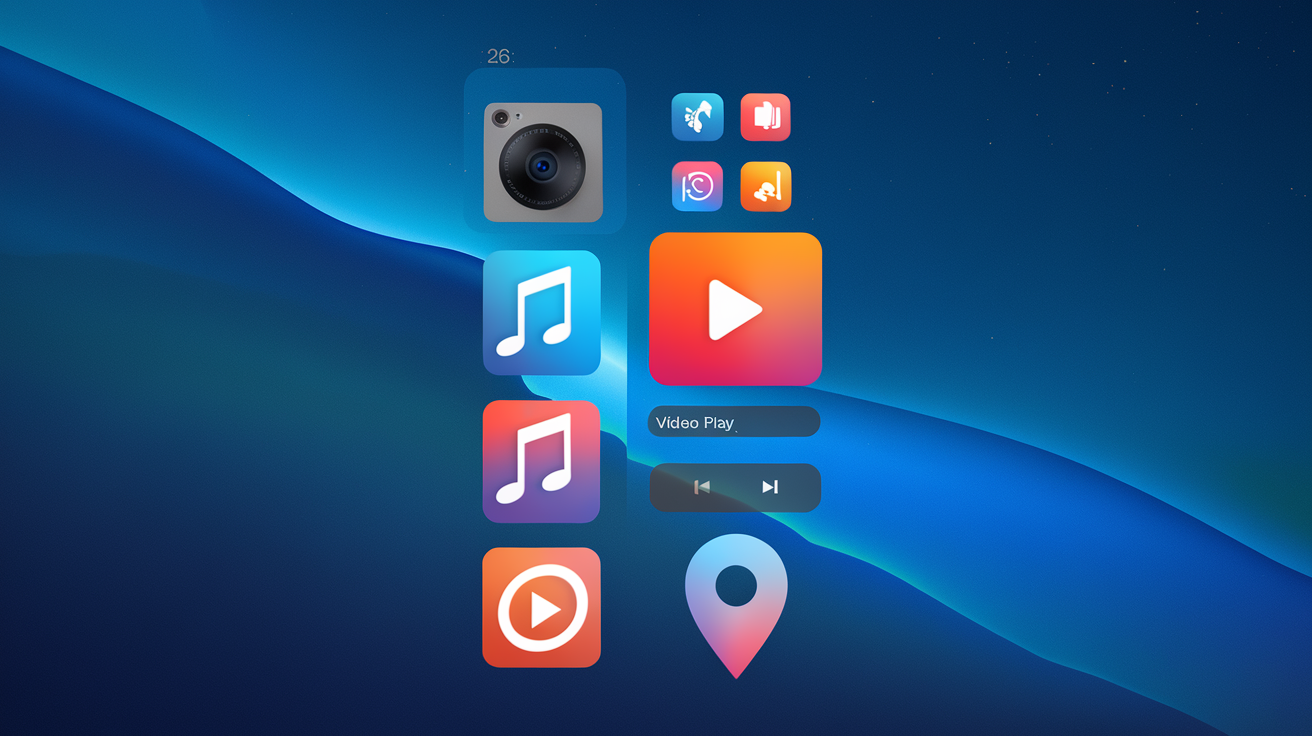
6. Adjusting Control Size
Once you have added items to the Control Center, you can resize them to enhance visibility. By control-clicking an item within the Control Center, you can select from options such as Small, Medium, or Large, depending on how prominently you want the control to appear.
7. Removing Unwanted Controls
If you decide you no longer need a particular control, you can easily remove it. It won’t be permanently deleted; you can restore it later by following the previous steps. To remove an item, control-click it and select Remove, or click the “—” symbol next to the item while in Edit mode.
8. Rearranging Your Controls
With your desired controls in place and sized appropriately, you can rearrange them as needed. In Edit mode, simply drag and drop the items to organize them according to your personal preference, ensuring that your Control Center is intuitive and user-friendly.